Admins users have access to the datacentre tab in the user dropdown menu. This allows you to:
They also have the ability to add documents in bulk.
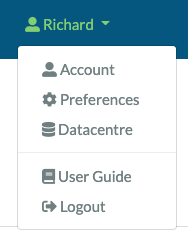
You can view the users attributed to your datacentre by clicking the users link. This will be prefixed by the name of your datacentre.

Each user is listed with their email address and admin status. There is also the option to edit or remove the users.
New user accounts are not activated until the user sets a password. New users should be sent an email welcoming them to the service and providing a one-time link where they can set a password and login. If this does not come through, following the forgotten password link on the login form will do the same.
 button
The connection to JIRA requires 3 things:
/projects/CEDA/summary so the JIRA project is CEDA )Once theses things are set up, you can use the “Convert to JIRA Ticket” action in the grant actions. This takes the information in the DataMAD database and creates an issue in JIRA based on the mapping you have setup.
If there is already an issue in JIRA for this grant, DataMAD searches the summary field in JIRA for the grant reference.
If a match is found, it will not create a new issue but will get the link to the matched issue and store it in DataMAD for
quick access.
These can be used to automatically set milestone tasks when a new grant is pushed to JIRA.
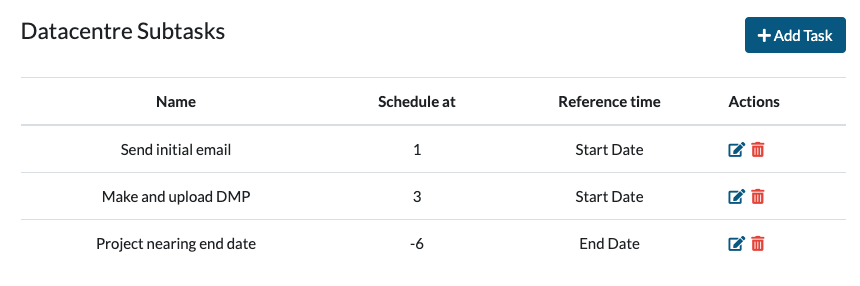
The time is in months compared to the reference time. So the first one in the image above will be due 1 month after the grant actual start date. The last subtask in image above will be due 6 months before the actual end date.
Using the “Generate Document From Template” link in the grant actions list (found on the grant detail page), you can create a document from a template using fields stored in DataMAD.
In order to use this feature, you will first need to create a document template. This uses word documents with special Jinja template tags.
An example document can be found here which gives examples for many of the types of things that you might want to do with a document template including:
This document also lists all the available fields which can be used in your template. This document is used as part of the test suite for DataMAD so is regularly checked to make sure that it can generate successfully.
Alternatively, here is an example of a DMP template which uses this feature to generate an inital DMP from the content in DataMAD.
If you wish to use the grant data product feature to generate an initial DMP document, then you might want to setup some data format and preservation plans. This can be done from the account menu as an admin user. More information about data products can be found in the tutorial.
These are used as part of the document templating when you create a data product. This means that you don’t have to type the same thing over and over if you have lots of common data formats.
These are used as part of the document templating when you create a data product. This means that you can store the set of preservation plans agreed by the datacentre and saves copy pasting or having to find the text snippets when you are creating data products and DMPs.
This is primarily for NERC staff to add in the initial grant documents.It can be accessed by following the Upload Documents link in the navigation header.
These documents must match the file naming convention to make sure they end up associated with the correct grants.
The convention is:
<GRANT REFERENCE (underscore separated)>_<DOC TYPE>
e.g. NE_T000619_1_DMP.pdf
Once you have loaded the page, you will see an area where you can either drag and drop files or use the  button.

Once you have added some files, you can either upload individual files by clicking their own upload button or upload all by clicking  button.
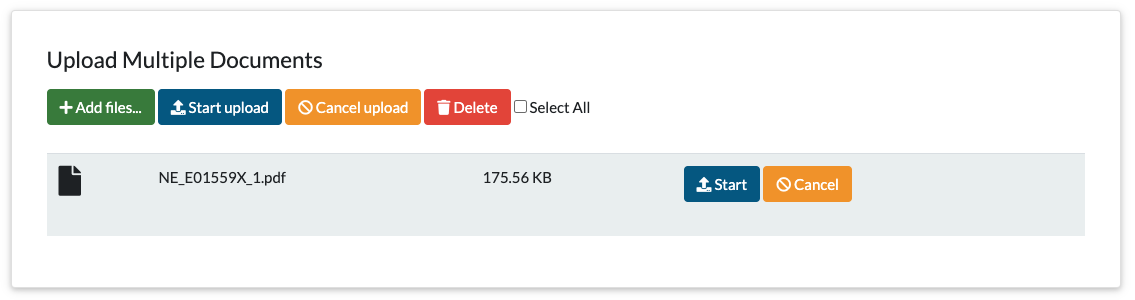
Files which fail, either because they don’t meet the file naming convention or the file has already been uploaded will display an error message. Successful files will change to show the option to delete and become a link to allow you to look at them.